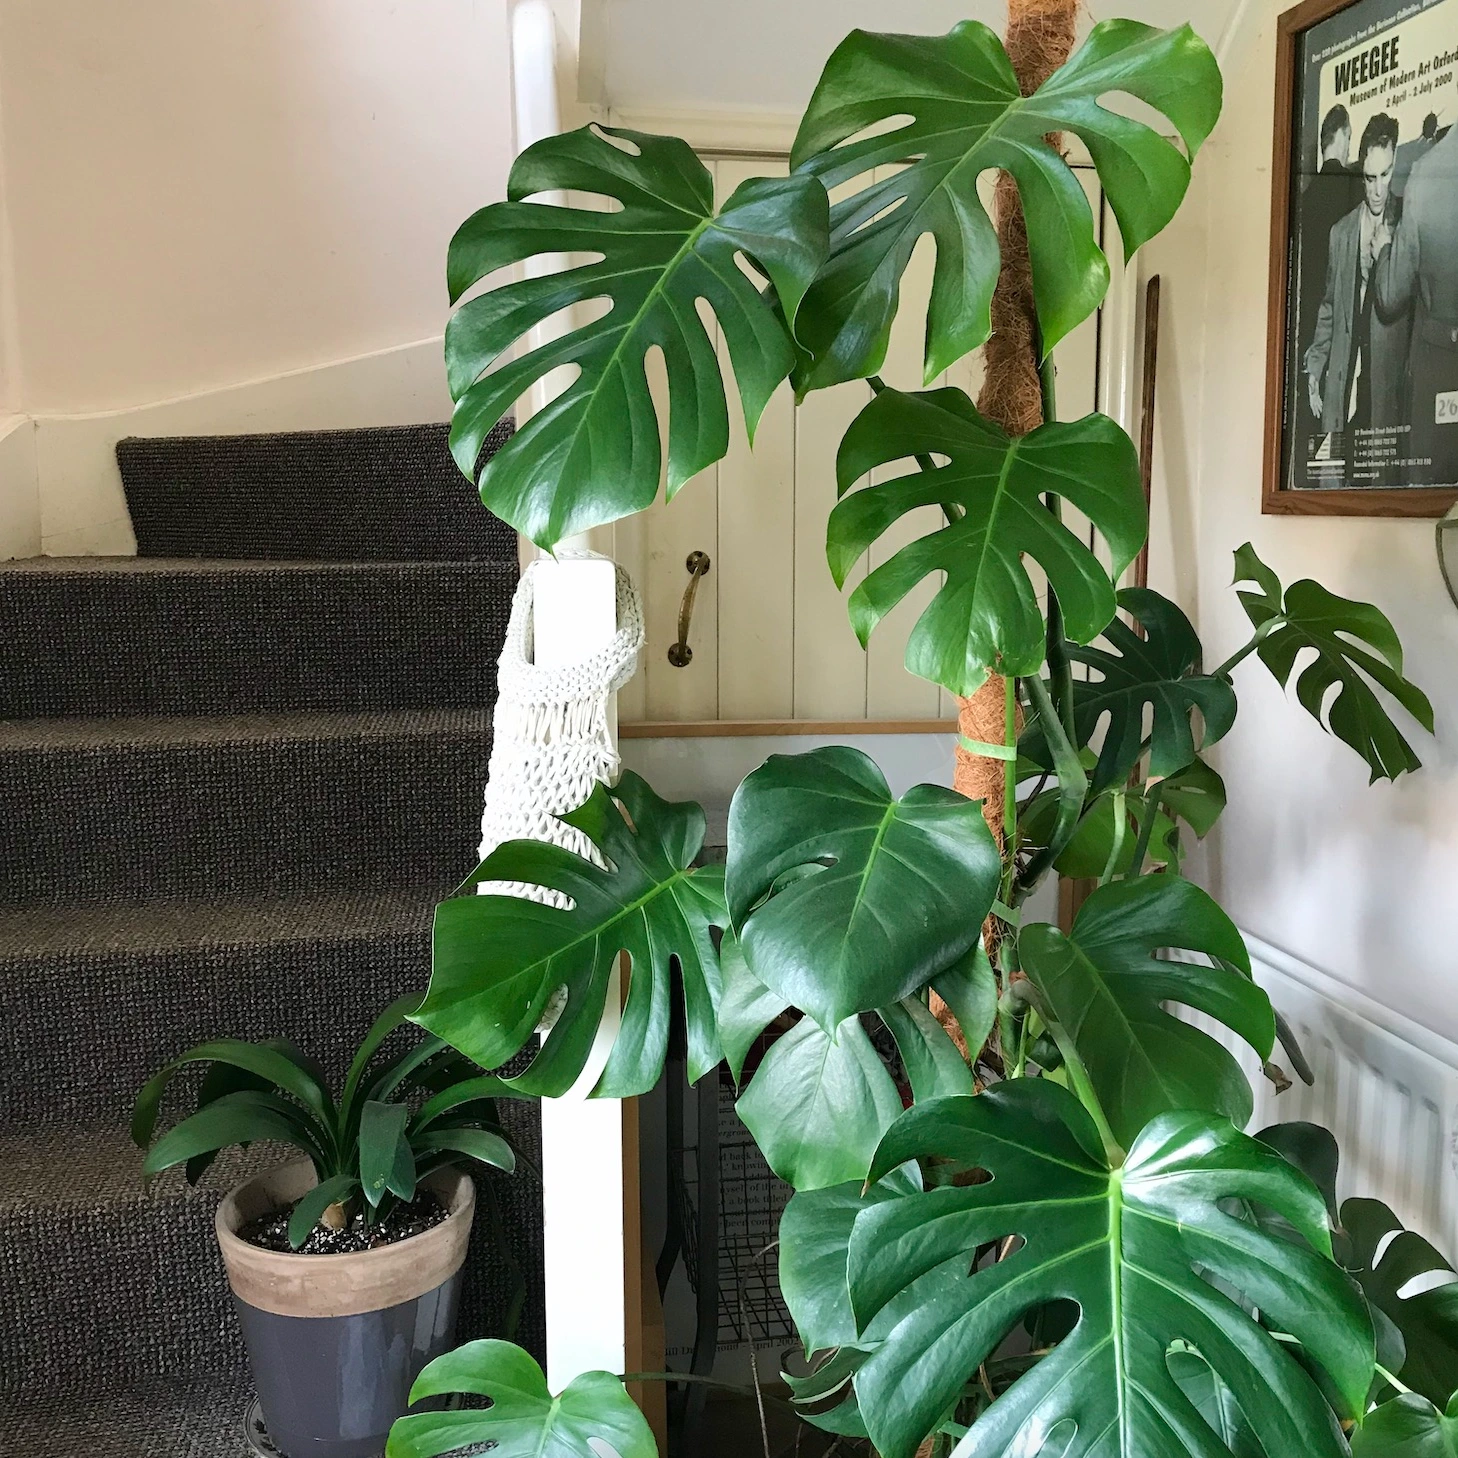
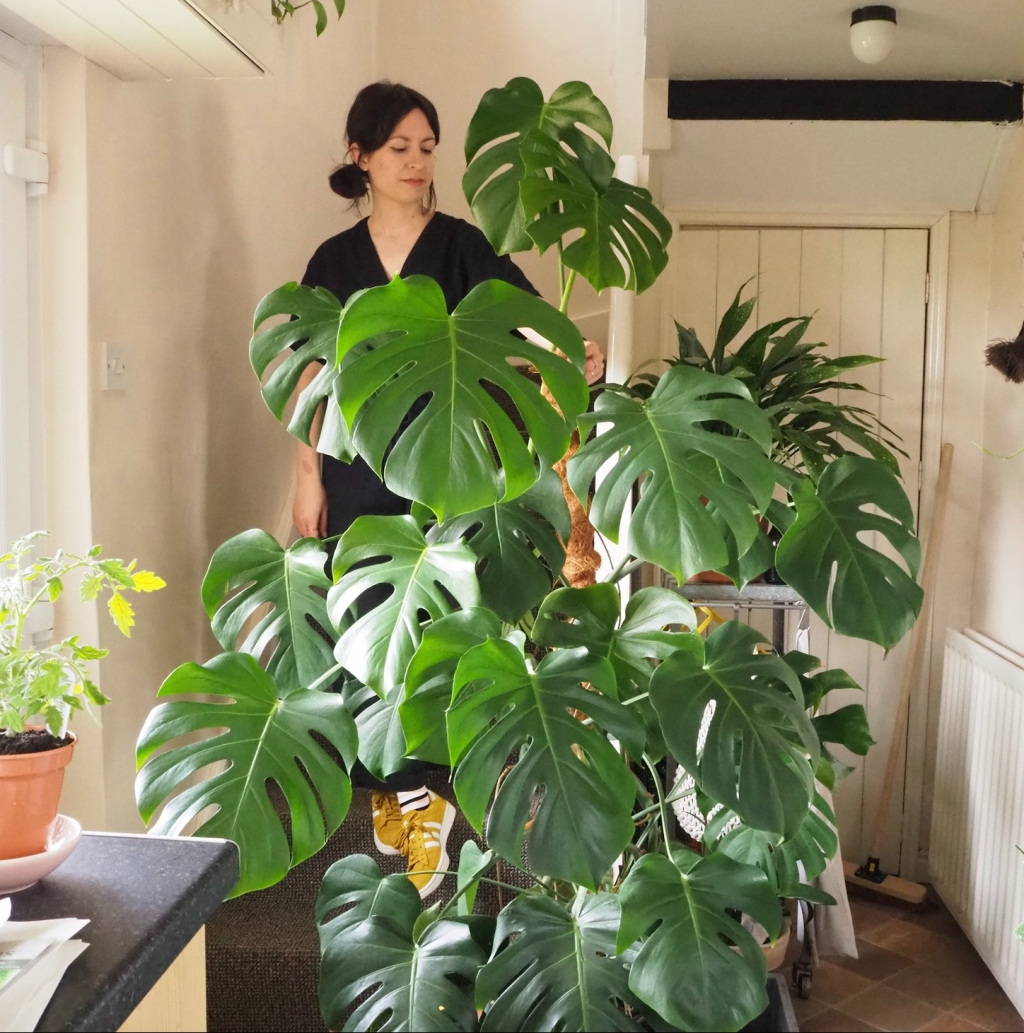
Today’s post is a much-requested one which has admittedly taken some time to prepare because it involves quite a big task — repotting my 3 Monstera plants! I trialled an all-in-one-day repotting session with my 3 Monsteras last year + found it to be a surprisingly good way to tackle the task, because it always feels easier after doing the first one + the process is essentially the same! You’ll see some of the documentation from these previous shenanigans in this post as I didn’t share them at the time, alongside the most recent re-potting. In a small space, it makes sense for me to do my plant care in batches + work on a number of plants in one go, often starting with the smaller plants + building up to the larger, more tricky pots. I like to make up a big tub of my potting mix, put some music on, make a coffee + slowly but steadily work through the process.
The last few weeks have consisted of attentive weather-watching — to look out for opportunities to re-pot outside (less mess), going through copious amounts of potting mix (buy the component bits in bulk where you can), re-jigging my plant pots + cache pots as things get larger (a never-ending task!) + generally trying to give everything a good clean (this place is so dusty).
Before we get into the process however, it’s important to say that there’s no need to re-pot your plants unless they are showing signs of needing it, or if they have been in the pot for a few years. At the maturity my Monstera gang are now, annual repotting works well for me with a planter just one size bigger, but I will always check the roots before going about this + there’s always the option of top dressing + root pruning too (but more on that later).
Here’s a line up of my 3 Monstera plants together by way of an introduction — they all live in different parts of the house so it’s nice to see them like this. From left to right: kitchen monstera — living space monstera (big one) — bedroom Monstera:


I’ve got a couple of Monstera blogposts here on HOUSEPLANTHOUSE + these will be linked at the end of the blogpost if you want to see more.

Monstera 1: My Kitchen Monstera
First up is my ‘little’ Monstera which is actually not so little anymore! Long time readers might remember this plant from my old apartment that used to sit opposite my big Monstera. After moving it initially lived in the living space for a few months but it outgrew that corner + was beginning to block the light for some of my other plants! The photos below show the repotting of it from last Spring — the plant had grown a whole load of roots right out of the drainage hole that I will admit I only noticed a few weeks before the move last Winter! I waited until after relocating to deal with this, so that I didn’t potentially shock the plant so close to the ordeal of a cold weather move. Looking back, this was the right decision + it’s grown well over the last 12 months!


It’s currently a size that I love + fills this corner of the kitchen nicely. The only thing is that it’s now touching the ceiling in it’s turned leg planter, so when I repotted this time around, I removed this cache pot + it’s just sitting on a drip tray at floor level now. This will be fine until I move again + I think I have a basket for it to sit in somewhere.
As you can see, the weather was good for some outdoor repotting with this one — it just makes the process much easier! In the photo below left, you’ll see that the pot I was moving it into is not much bigger in size — but just a little larger in volume.


The previous planter was more tapered in shape + after a year in this pot, the roots were circling around the base —


I gently loosened the roots with my hands + pruned any dried roots, before adding a layer of fresh potting mix at the bottom of the new planter. This planter was wider at the base + as such, was more spacious for those roots to get growing —


When it comes to how to re-pot a plant with a big support like this one, I’ve got a blogpost here. In this instance, I didn’t need to remove the support as it was keeping the whole plant sturdy + supported. After transferring it to the new pot, it did take some work to get the support in the right position + I un-tied + re-tied a few of the stems to get the plant looking it’s best. I like to use velcro ties because it means that any tweaks or adjustments like this are easy to carry out + you don’t get tangled up with cutting string etc. (I’ll link them here) . It also means that there’s less waste as they can simply be adjusted to suit the plant as it grows.


The additional benefit of repotting outside is that it’s easy to give the plant a thorough clean down afterwards! I used the garden hose on a gentle setting to wash down the foliage (front + back) + let the plant sit to drip dry for 30 minutes.
TIP:
If you have some outside space to do your repotting then that’s great! But before you wait for a bright + sunny day, be sure to tackle your plant care in a more shaded location + especially out of direct sunlight. I carried out this process in the evening when the sun was not too strong + the temperatures were not too high. I’d ALWAYS recommend this as a precaution because you’d be amazed at how quickly a plant that is used to household conditions can get scorched. In a home, it takes time for plants to acclimatise to a brighter location, so bear in mind before making any drastic moves!
A friend of mine frazzled her Monstera a few years ago after leaving her plant on the patio for a few hours on a sunny day + the scorching was brutal + caused the plant considerable damage.


Monstera 2: Living Space Monstera (aka BIG ONE)
In all honesty, this was the one Monstera I’d been putting off repotting because it’s now taller than me + quite intimidating! I knew it needed a re-pot because it was taking much more frequent watering + some of the tips were crisping a little, alongside the obligatory roots growing out of the drainage holes! First, here’s the process from last year:


When it comes to repotting, from a styling perspective, it’s worth deciding where + how you will be displaying your plant before the repotting (if you can) because this will often also have an impact on the choice of planter. It’s pretty frustrating when you re-pot something + place it in a cache pot to find that it doesn’t fit nicely! It’s only a minor detail of course, but if you can preempt this it makes the process more enjoyable + less like plant-pot-musical-chairs! This consideration was particularly important with my next Monstera because it had really outgrown the space…
Like my little Monstera, big one was also in a turned leg planter but had been getting dangerously close to the ceiling in my living space + I’d also been thinking about how to display it when I move. For both of these reasons, I chose to use the same shape planter as above, which was wider at the base. This had the added advantage that the drip tray + pot miraculously fitted into one of my baskets like they belonged together (…isn’t it always so satisfying when that happens?). Plus, I figured this would be a versatile + lightweight planting option until I’m somewhere more settled.
The following photos show that this repotting session took place on a tarpaulin on the floor because the plant wouldn’t fit very easily out of the door without getting tied up in an elaborate way! I always like to have a plant-tarp to hand because it really does help to confine the mess + can be cleaned + folded away + stored easily if you also live in a small space. I just peg it on the washing line + wash it down between sessions to keep it in good condition + it’s lasted me years.


A view from the potting mat — those leaves were towering over me as I prepared the Monstera for the larger planter!


I untied the plant from the ceiling hooks that were keeping it stable + worked around the perimeter of the plant pot with my hands in order to loosen the soil. If your plant is pot-bound, this can take a bit of time, so don’t panic! I got a secure hold of the plant by the base as I lifted it out of the pot + onto the tarp. Here I worked at giving the roots an inspection, removing any dried ones + loosening the healthy roots to get ready for their new home. This is a part of the process I always enjoy because I think it can be such a nurturing experience + I feel very connected to my plants in these moments.
Old pot to the left, new pot in the middle + to the right. You can see the Monstera has a bit more room in it’s new planter now, so will be happy here for the next year or so I hope!


Tidying up the mess above left + to the right is the Monstera back in position in its basket — it’s brought the height of the plant down which means it’s no longer brushing against the beams!
Monstera 3: Bedroom Monstera
This is a much smaller plant than the other two, but it fits well into a smaller space! That means it currently lives in the bedroom which has particularly low ceilings (side note: aside from not being able to fit any tall plants upstairs in the cottage, it makes doing my yoga practice…interesting to say the least!). Here’s the repotting process from last Spring:


Now you might be wondering where the more recent repotting photos are for my third Monstera because things aren’t really looking any different in this corner of my bedroom! I took the plant out of the pot + had a look at things in the same way as with the other two. In comparison, this plant gets less light + as a result, has grown more slowly over the last 12 months + wasn’t quite ready for a big re-pot.
Instead, I decided to top-dress it as this would keep the plant happy for a few more months + I didn’t want to disturb the plant too much as there were signs of a new leaf on the way (today’s photo below right). Top dressing means removing the top inch or two of soil + adding a fresh layer of potting mix to the top of the pot + is a great interim option before a re-pot. It’s worth noting that if you want to keep your plant in the same pot, then root-pruning is an option to consider, but I don’t do this often.


Post-repotting care


As your plant adjusts to a new, slightly larger pot, you might notice one or two of the oldest leaves at the base of the plant yellowing, which will eventually dry + drop. I like to wait until the leaf naturally dries before cutting it off as it will actually be transferring nutrients back to the main plant in this time — isn’t that lovely! The photos above show how the oldest leaf on my big Monstera is looking a few weeks after repotting as it’s starting to yellow + droop. If you are new to houseplants, this can be alarming + whilst I’ll miss this leaf a little bit with it’s cute secondary fenestration (the hole near the mid-rib), it’s all a natural part of the plant process + completely normal. As I write this, my kitchen Monstera is also presenting a yellow leaf right at the base too in unison.
In terms of fertilising, I generally don’t feed for a few weeks after repotting my plants to let them adjust. Also, keep an eye on your watering — in a bigger pot, you might find your plant takes longer to dry out so check the moisture levels before watering as you did pre-potting! I stick my finger into the potting mix + wait until the top 1-2 inches has dried out before watering again, If I want to get deeper into the soil to see how things are lower down, I’ll use a hygrometer. Don’t be too surprised if there aren’t any new leaves for a while either; this can also happen after a re-pot. But as the photo above shows, this was not the case with my big Monstera + around 10 days after repotting, a new leaf is beginning to unfurl: always a sight to behold!
Conclusion

Whilst that was quite an ordeal, I’m really happy to have given my Monstera gang some care + attention with a new pot + fresh potting mix + a thorough clean too. These plants have put up with some pretty adverse conditions here in the cottage this last year + after a particularly challenging winter, they were in need of some rejuvenation. I hope you enjoyed seeing how my 3 Monstera plants are doing + that this post has illuminated the process + made it feel less daunting in case you are thinking about giving it a go. If you want to see more, you can also check out the repotting guide linked below, which goes into the process in even more detail. I’ve made a couple of videos which I’ll be sharing over the next few weeks over on my instagram and pinterest so keep a look out for those too.
If you want to read my Monstera blogposts I’ll link them here:
- Q + A : Monstera care + repotting
- Monstera madness: a repotting guide
- Plant progress: 5 years with my Monstera
- How to train your Monstera around a support
*Affiliate links are used in the post which means I can receive a (very) small amount of commission if you make a purchase — thank you for supporting my blog. I often get asked where I get specific items from so have linked these here. I have bought all these products with my own money.


Leave a Reply