Star Trek 3D Chess set:
This is an oldie, well it’s an oldie where I come from. Around 7 years ago I hit upon an idea for a custom made present for one of my oldest best friends. He was, and I hope still is, a massive fan of Star Trek Deep Space 9. In this show, and others in the Star Trek timeline the Starfleet crew will on occasion relax and unwind with a drink in the bar and a friendly game of multi dimensional chess. Seeing as my mate was also a bit of a chess player an obvious present for him would be a Trek chess set.
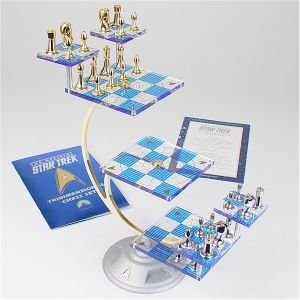
The offical version, very nice but equally expensive.
However, there was a problem with this epically good idea. The only official manufacturer of these games at the time was the American based Franklin Mint, and they wanted a Klingons death horde, $400 or so for a new one! Worse still second hand ones trade hands on Ebay for £200-250. So I asked myself, what would Chief O’Brien do???

Purge the plasma conduits!!!
Probably something involving plasma conduits, data buffers or anti matter injectors. I on the other hand am a real engineer, and having none of these to hand, I built my own! To the internet for some source images!

Basic computer remdering of a 3D chess set
I started with the base. It needed to be a good-sized lump of metal to balance the weight of all the chess pieces, I already had a nice clear and frosted glass set that I had bought from ebay. I decided to make the base out of aluminium, to get the weight I wanted it needed to be around 6 inches wide and 2-3 inches deep at its highest. Sadly stock material that size is very expensive off the shelf, the solution to this was to cast the metal myself.
To this end I made a wooden pattern on the wood turning lathe and used it with the cope & drag sand casting kit to make a traditional sand mould for pouring molten aluminium into. Next up I melted down a bunch of scrap aluminium in the crucible furnace until I had nearly a full litre (yes in liquid form we measure metal like water) of shinny, shimmery, very hot metal! Once poured into the mould it had to be left a good long while to cool down. Flash forward to 6 hours later and I broke the mould to extract the still hot metal. Only at this point would I discover had the casting worked or would I be doing the whole process again?? It worked!
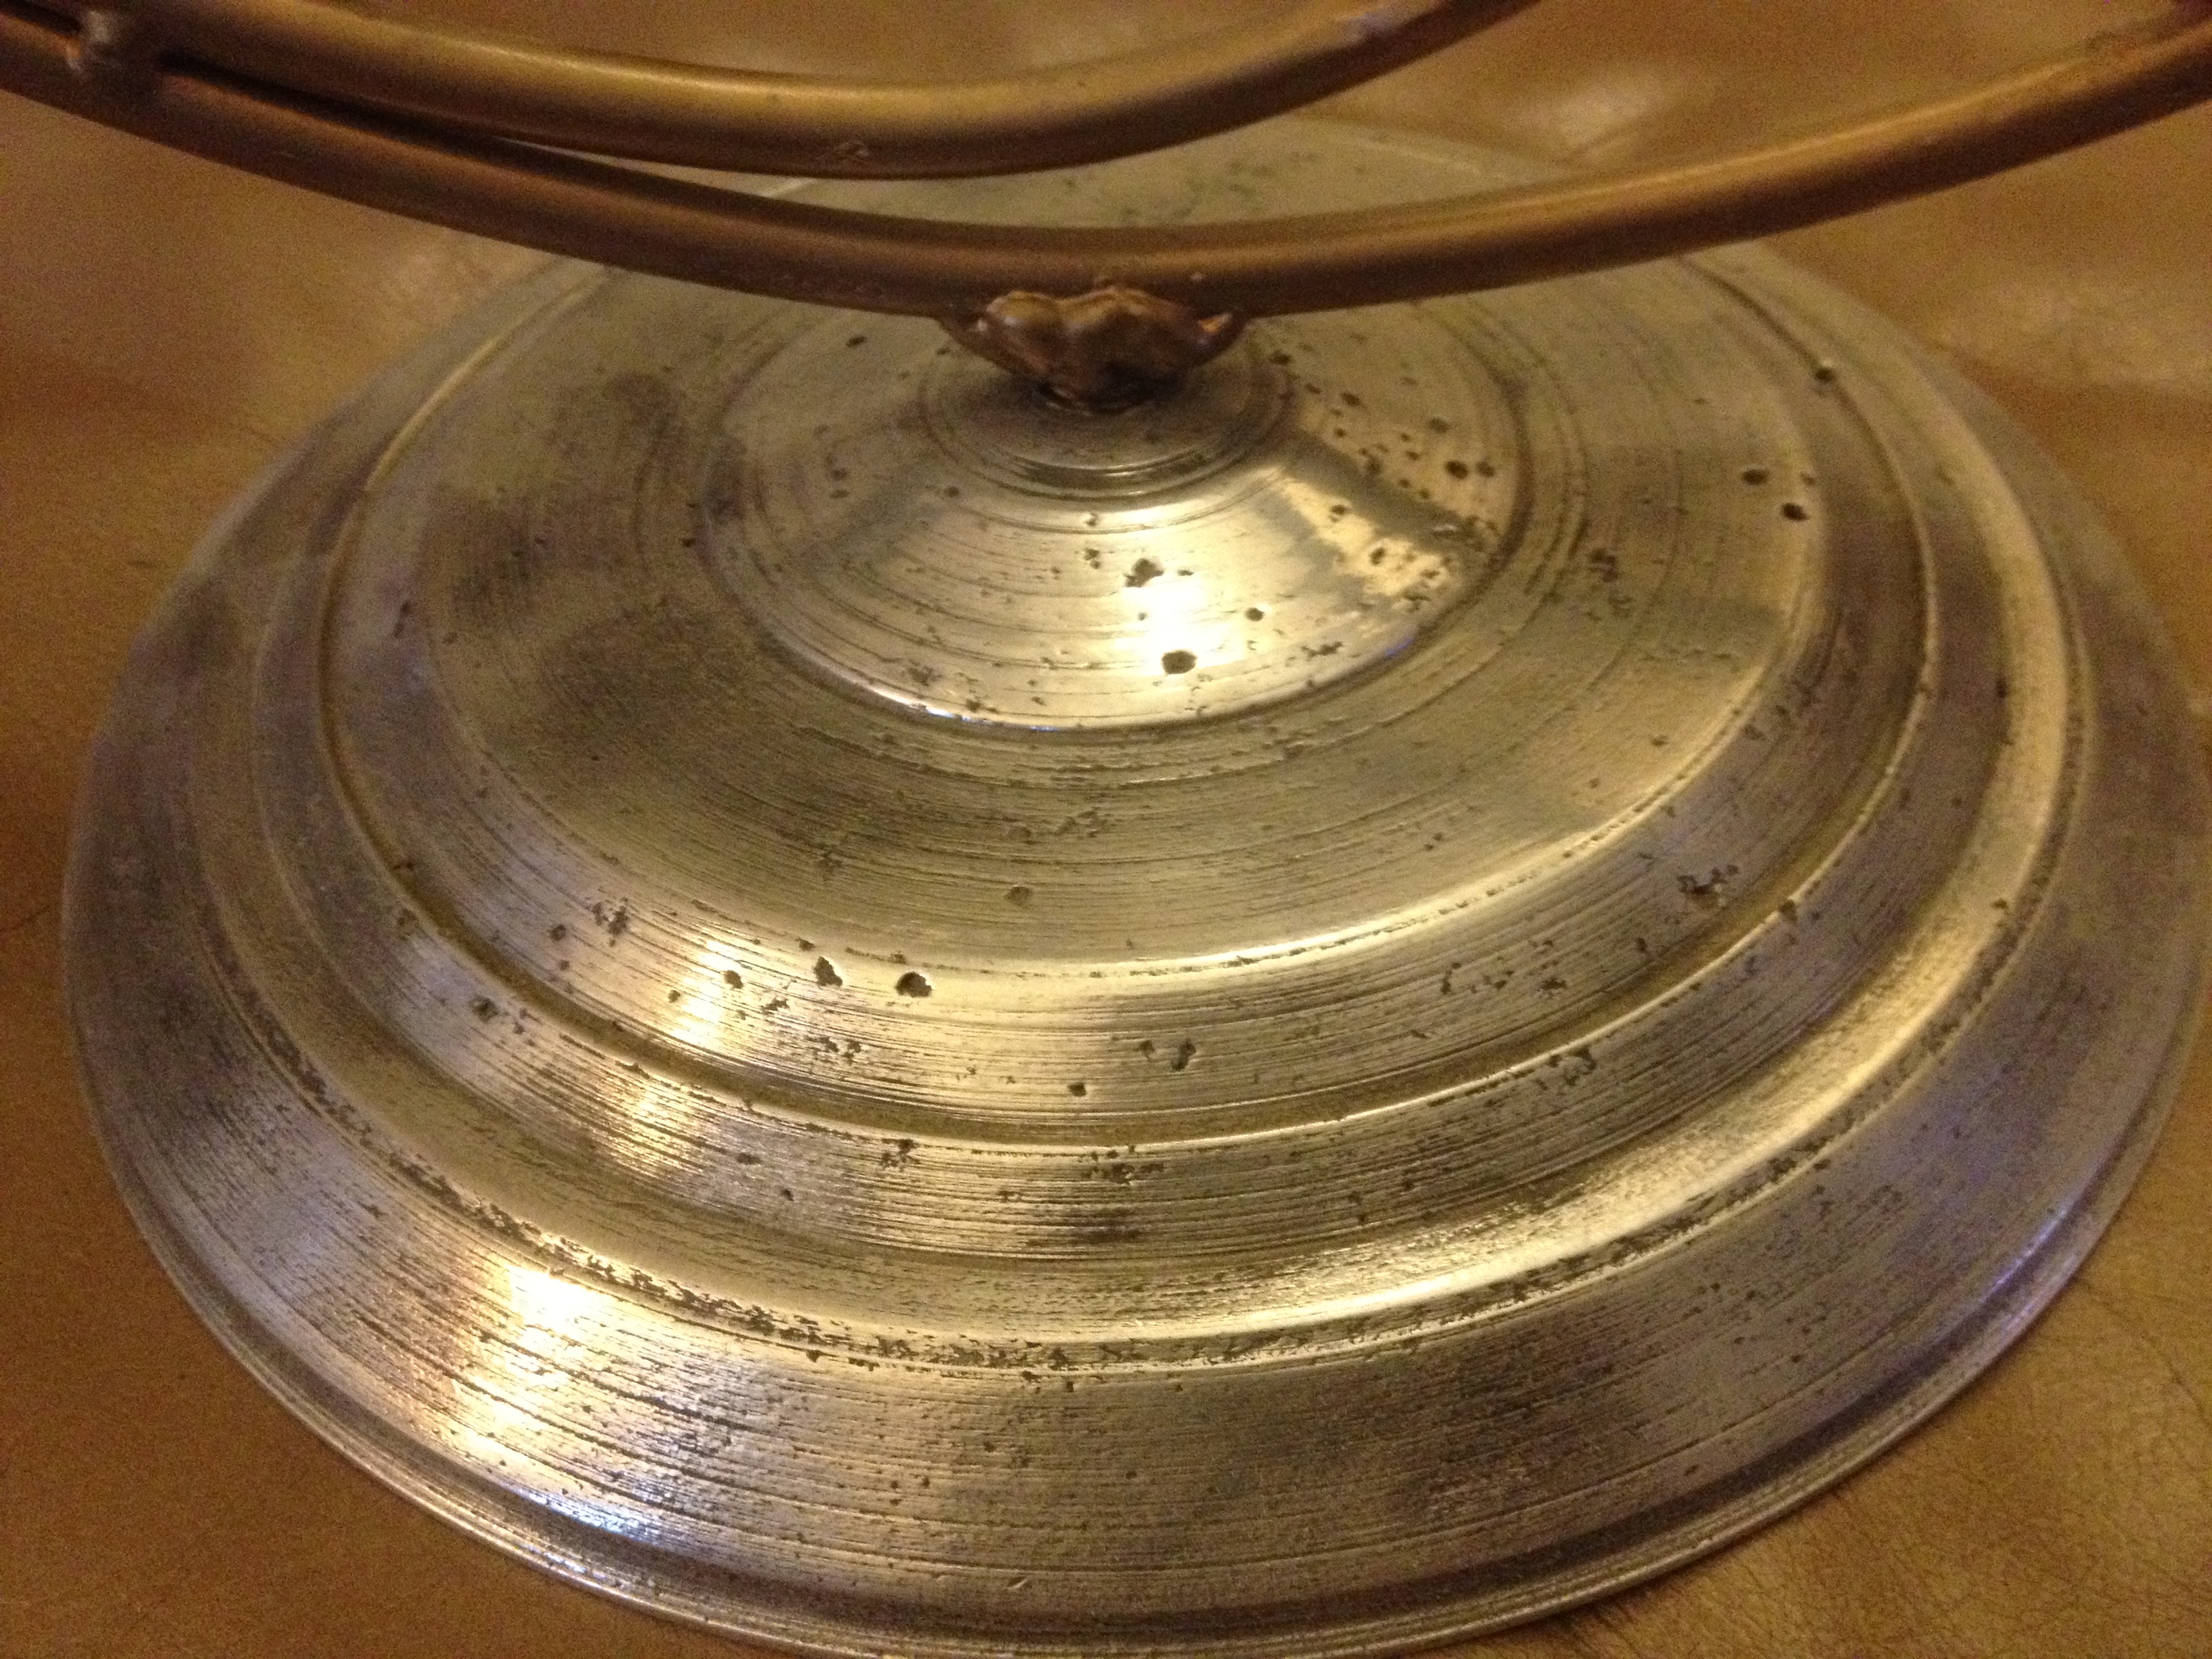
Big lump of Cast Aluminium, after being machined and polished.
Once I had cut the runner and riser tubes from the casting I was able to put it on a metal turning lathe, with the outside diameter jaws set to their very widest it just fitted. I centre drilled a 8mm hole right through the centre of the casting, recessed the reverse side for later mechanical fixings, and used the cutter to smooth off and shine up the outer surface of the casting. It was at this time, while machining the casting that I discovered a rather happy accident. The metal when still in the furnace usually needs a degassing tablet added to it, to help remove and trapped gasses and impurities. This I forgot to add, as I was impatient to pour, also the molten aluminium had been a touch too hot when I poured it into the mould. Both these factors combined to cause air bubbles of random small size and dispersal throughout the casting, and when machined and polished to a high shine on the rag mop, the bubbles looked like a star chart or celestial map. Very cool, but totally accidental, but I pretend it was intentional, so shhhh! It’ll be our little secret.

Air bubbles visible in the underside as well as on the top side.
Next up there was the metal frame to support the game boards. This was formed from a three level candle stand that I had inherited from some friend who moved house and told me to just chuck it in the bin, but me being me I kept a hold of it for no particular reason. The base and curved main arms of the stand were removed, these were then bent a little further round to more closely match the shape of the source images. I also welded a circular piece of the stand that had been a feature of the upper end but moved it to the lower end so as to better support the upper levels, if that makes sense?
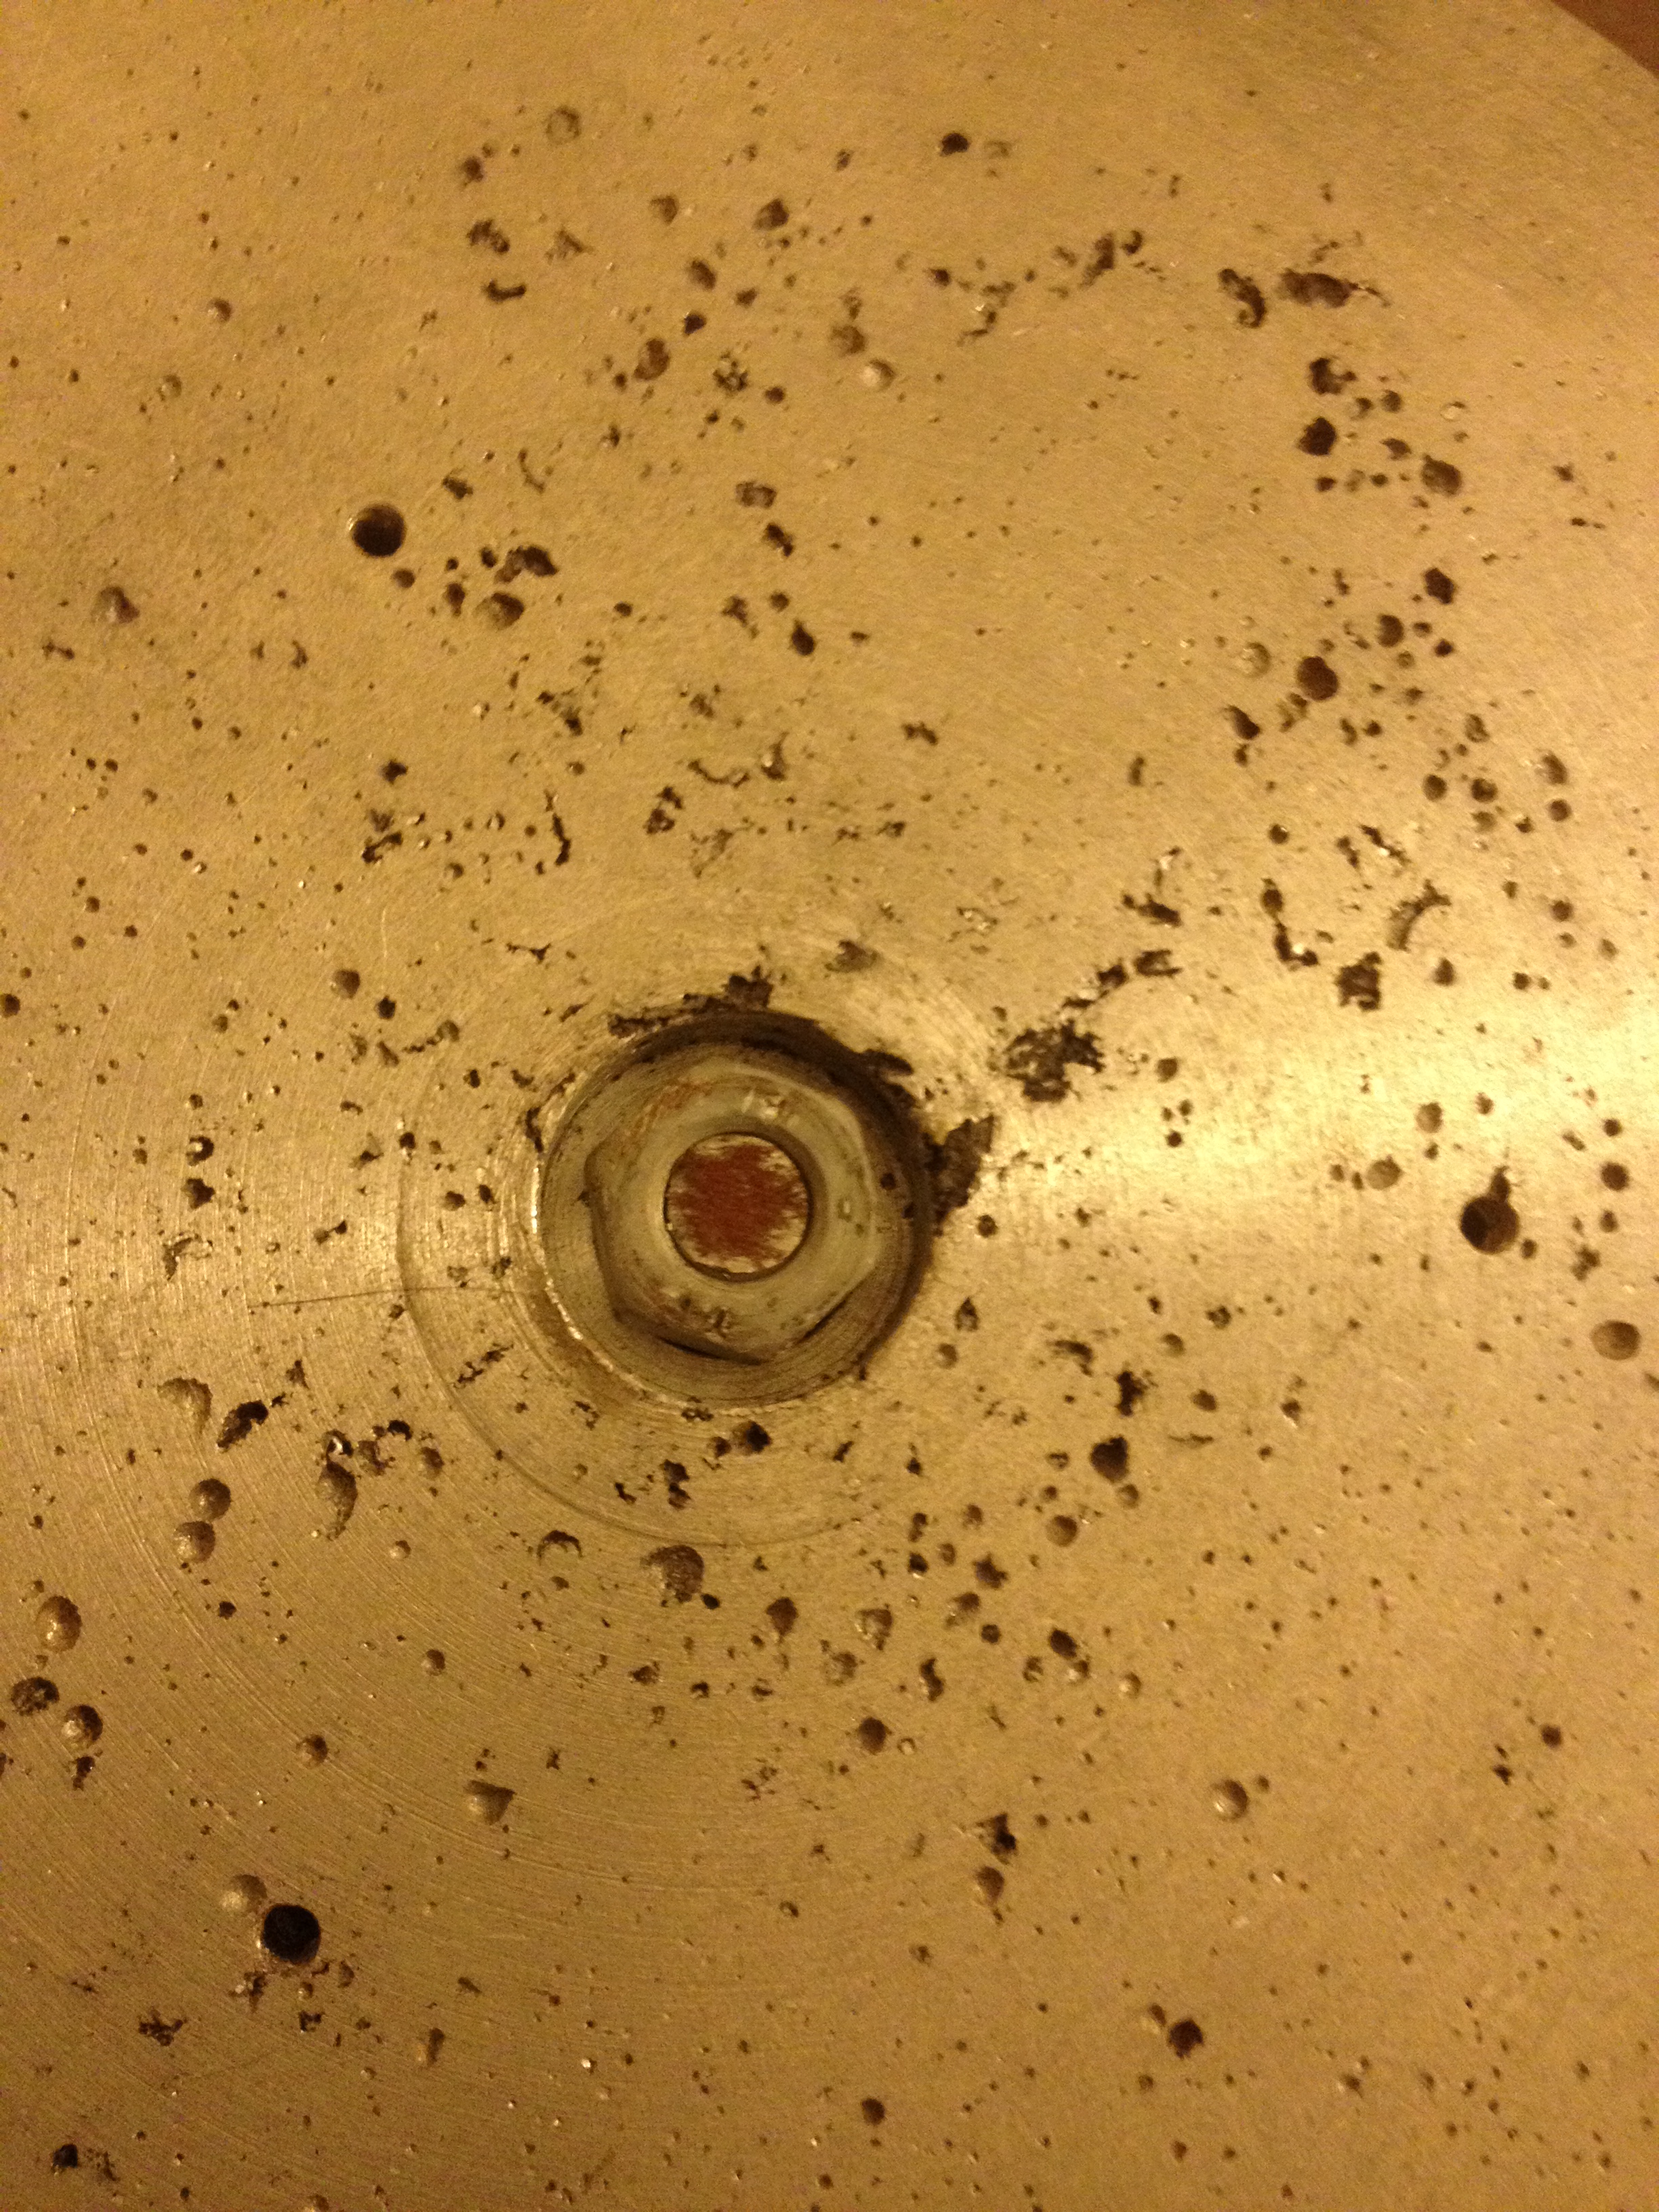
The big nut, fitted to the threaded rod that holds the base and main support togeather.
I had to weld a threaded rod to the lowest point of the curves for fixing to the base, and also bend the three tips of the curved pieces into short vertical rods to be threaded later for cap nuts. This is where the three game boards will be positioned. Once I had cleaned up the welds and removed any rough or sharp bits with files and abrasive papers I gave the whole curved section a few coats of gold spray paint. The gold and silver of the steel and aluminium in this piece ended up looking great as a contrast to the clear and frosted chess pieces.

One of the 3, 16 square main gaming boards.
Time to do the game boards now. A Normal chess board is 64 (8×8) squares of side between 35-45mm. For the 3D set I still needed to have 64 squares, made from 5mm thick clear acrylic. These game boards like in the very expensive real sets needed to be, three of 4×4 squares to be mounted on the three main rods and four 2×2 squares each to be mounted on their own small aluminium rods, movable to the four corners of the three main boards.
The 7 acrylic pieces, 3 large 4 small, were cut to the correct sizes on the band saw, a very easy first step, the edges were quickly sanded and flame polished with a blowtorch to shine and tidy them up. Next the grid of the game board was laid out in masking tape and etched into the surface of the plastic with a straight edge and a very sharp Stanley knife. With the grid in place I removed the protective plastic film in a traditional chess board pattern and then used fine sand paper to rough up the exposed plastic. This left a frosted look to half the squares while leaving the rest perfectly clear. This effect matched the chess pieces I had bought before hand. Next up drilling, the three main boards needed an 8mm clearance hole in the centre for the main fixings, and also 4 slightly smaller holes in the four corners for a tread to be cut inside each. This thread was to match the thread cut onto the four short aluminium posts that will be explained, now. The four small 4×4 feature boards were also marked out and etched in the same way as the larger ones, and a hole drilled for threading in the very middle of each. Once threaded these 4 boards were each screwed onto the top of a 8mm piece of aluminium rod. These rods I cut and turned on the metal lathe with knurled grips in the middle and a M8 thread cut at the tips to allow fitting of the small boards and fitting to the larger boards for game play.

One of the 4 smaller gameboards, with the aluminium support attached.
On to the assembly of this piece. The curved gold frame was fixed to the sliver aluminium base with a big locking nut set into the recess underneath. The three larger game boards were each fixed to a level of the frame and secured with a capnut of the correct size, painted gold as well to match the frame. Finally the aluminium rods were fitted to the small boards and these in turn were fixed to the far corners of the top and bottom main boards.

The finished item. Still to be used in anger. Fancy a game??
Finished, and ready to given to my good mate as a gift. Oddly though, I don’t think he’s ever played chess on it. I’m not even sure how one would go about playing chess on such an item. Answers on a postcard please!

Well done. I love this DIY 3d chess board. Although I have bought the FM version, Star Trek fans will appreciate this homemade alternative. Looks smart.
Thanks! It’s for sale with the glass chess pieces if you’re interested or know someone whom would be?
I can’t help noticing, the boards are rotated 45° out of alignment.
To actually play a game using the World Tri Dimensional Chess Federation rules (http://w3dcf.com/information/laws), the main boards would have to overlap exactly half of the board below it.
Is your board still for sale and can the main boards be properly aligned please?
You have a Vulcans eye for detail good sir! This was set like this for ease of test playing after a few Romulan ales, before the photos were taken. However setting it up as described seems like a logical request, and with the right tweaking in the workshop should be straight forward enough.
Yes the set, with matching clear and smoked glass pieces, is still available to purchase worldwide…..unless you are based in Russia that is. 🇺🇦
Wow!
Thanks for the quick reply.
I’ve been after one for a while, the Franklin Mint one is too small and the Noble Collection one is too lopsided to play on.
Sorry to sound like a diva, but I’d need to see a side view picture of it first.
How much to get it to Cambridge in the UK, please?
Hi Danny, sorry it’s taken we a few days to dig it out of storage to inspect and view, but I have photos I can forward to you. Email or phone? Postage and packaging cost with royal mail will be £15, and looking at what the FM ones trade for on eBay and taking an average as their baseline cost I would be willing to offer you my one for £100 as it currently is. Would this be agreeable to you?