
If the UTAX HyPAS MFP was not configured automatically in the PriApps Admin UI during setup (see: Automatically Detect & Configure Managed Printers), you will need to configure it manually.
Select Printers and MFPs from the Managed Printing sidebar menu.
Select the UTAX HyPAS MFP to be configured in the top window and its details will appear below.
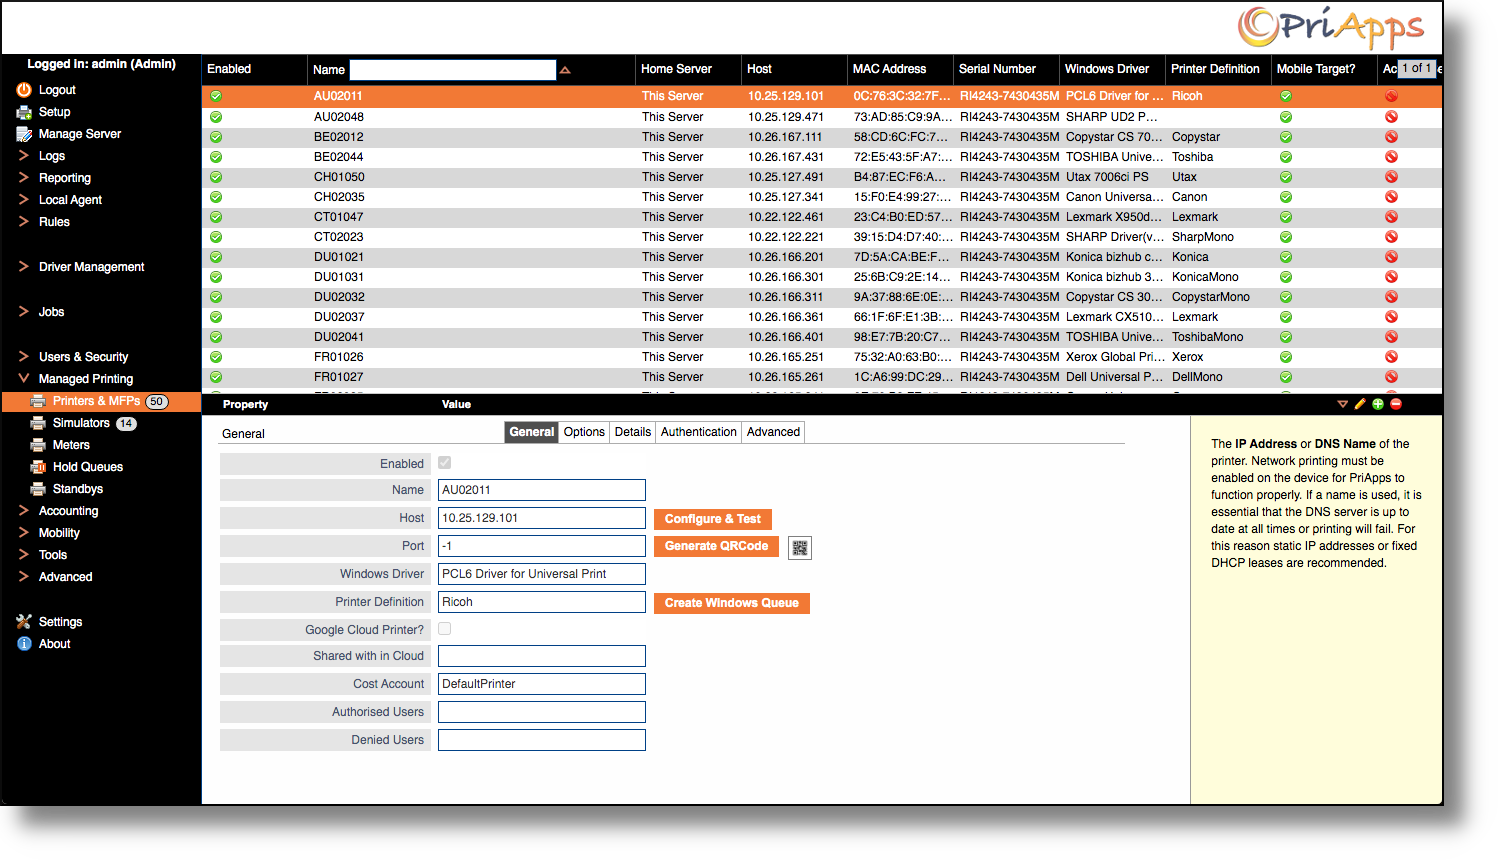
Complete the configuration options as instructed. Most of the options are configured automatically when the PriApps software is installed.
The following settings must be configured for a UTAX HyPAS MFP :
| Printer Definition: | Kyocera (see: General Tab) |
| Printer software platform: | HyPAS (see: Authentication Tab) |
| Web service port: | 8080 (see: Authentication Tab) |
| Admin User: | as appropriate (see: Authentication Tab) |
| Admin Password: | as appropriate (see: Authentication Tab) |
| Authentication Server: | The IP address or DNS name of the server running the PriApps Authentication Service (see: Authentication Tab) |
| Authentication Server Port: | 8088 (see: Authentication Tab) |
| Card Reader Type: | Direct or None depending on card reader requirements (see: Authentication Tab) |
Once the MFP is configured Click on the Configure Platform button.
A confirmation screen will be displayed that details the actions that will be completed. Click Register.
This will cause the PriApps Application server to connect to the UTAX HyPAS MFP and configure the Login package automatically.
Need more help with this?
Contact PriApps Support